Friday, August 6, 2010

Simplicity 3835 (take 3)


I made this pattern using Built By Wendy for Simplicity 3835. It has become an old standby, I love this pattern. It is easy to make and always flattering and comfortable. I love Built By Wendy patterns and suggest her books as well. I will probably still be making this shirt in 10 years.
As always I Iengthened this pattern for my torso.
I picked up the plaid at a church rummage sale this summer, it definately has an 1980s menswear feel to it but it super thin and comfy.

Thursday, August 5, 2010

simplicity 2725


I made this top using Simplicity 2725. I used a vintage cotton print that I picked up at an estate sale a number of years ago. I found a whole box of vintage fabric shoved under a table in the basement and they gave it to me for 3 bucks--this is why I always dig around at estate sales!
I decided to keep this top pretty simple. The pattern allows for jabots, ruffles, and collars but I just loved the print to much too distract from it. This was an easy project but I'm not in love with it by any means. It is not very flattering--the armhole combined with the dart is really dowdy. I can only wear this top as shell under a cardigan, without the cardigan I look about 20 pounds heavier. I made a few adjustments to the pattern. I eliminated the zipper and just left a sort-of keyhole opening with a hook and eye. I eliminated the armhole facing in favor of bias tape and of course I had to lengthen it for my super long torso.

Wednesday, August 4, 2010

an education


I am currently enjoying the tail end of my summer break before my senior year at ISU. I am working on my Bachelors Degree in Costume Design and I thought I'd share a few of my class projects from my last 2 semesters.

This is my final project in a construction class last fall. We had to create a period-piece bodice of our choice. I chose the Belle Epoch. This was my first experience draping and creating a pattern using a sloper.


 This past spring I took a course in Tailoring. One of the most difficult skills I have ever tried to learn. I would love to master this skill but I need years not weeks. This jacket is still not finished,it still needs buttons, hand bound button holes, and (obviously) a good steam and lint roll. I used this Vogue pattern but did not use the instructions because we had to use old school tailoring techniques. I'm definately gonna finish this jacket when I get back to school and can get a little help from my instructor. I ended up having all the fabric on hand for this project, the wool was a hand me down from my grandma and I had the lining in my stash already--I love when this happens!


For my final in Tailoring we had to make a corset. In my Costume History class and in the Tailoring lecture on corsets we learned about the unpleasant side effects of wearing a corset. I won't go into to detail but it wouldn't take you long to look it up and you would be horrified. Because this corset had to fit us and we had creative control I decided to make mine a little funny. I dyed it a coral-red and I hand painted some sad faced organs on the front with the word Be Kind to Your Insides.

Monday, June 28, 2010

backyard bazaar


I was able to be part of an event called Backyard Bazaar this past weekend. I was so excited to be part of this and grateful to the ladies who put so much of their time and energy and heart into organizing it. I brought a few different things--library bags, stockings and onesies, and I spent the week before making something I call Lazy Day Loungewear. They can be for lounging around the house or to wear to bed. My son always prefers a nice, light, cotton pair of pants or shorts with a t-shirt for bed over store bought pjs.
I used vintage linens for the pants which are cropped for extra summer comfort, and simple cotton tees and tanks for the tops. I dyed the tops and then freezer paper stenciled. A big thank you to my bestie Ashley who helped me finish the freezer paper-ing--into the wee hours of the night, and she graciously took the photos for me!

And one quick pic of the cute onesies on display

Tuesday, May 18, 2010

Mario and Luigi


Tony loves dressing up in costumes, and since his current obsession is Super Mario Bros. he of course has been begging for a Mario AND Luigi costumes. He had his eye on this overpriced one, but I didn't want to pay that much and they look super chea[.
For around $15 I was able to make both costumes. This was really easy, I only needed to make one pair of overalls and was able to purchase everything else. I know he's gonna be wearing these costumes all summer so I went with short sleeve T-shirts. I used Mccalls M5955 for the overalls and I just painted the hats with fabric paint.

Thursday, May 13, 2010

mario time


We're gearing up for a Super Mario Bros. themed birthday party for a certain soon-to-be 6 year old. I have been picking things up here and there for the birthday boy but one thing I spotted online that I really wanted to get him was out of my price range. These hand painted shoes are amazing, but at $225 not ideal.
 I have a drawer full of fabric paint so I picked up a pair of shoes and decided to have a go. I'm not the best hand painter but hopefully my  little guy who will outgrow them before he can realize how shoddy my painting skills are.

Tuesday, November 3, 2009

halloween


My sister and I decided to dress up as characters from Alice in Wonderland.
My sis was Alice, I used Simplicity 4015 . My sis wanted something a little different so I altered it a bit and made it more fun. I used Kona Cotton in a royal blue. I draped the back to create the sort of bustle/exposed petticoat look with tiers of eyelet ruffles. I also greatly reduced the width of the skirt, added eyelet ruffle trim around the sleeves, neckline and hem, nixed the neckline bow and went with sweet heart shaped buttons instead.


I was the Mad Hatter,  I used Simplicity 2525 to make the dress, vest, tailcoat and bowtie. I made the dress from a fun feather print I found on the quilting wall at Jo-Anns, for the vest and jacket lining I used costume satin in gold. The bow tie is also costume satin in a vibrant purple. I used a teal cordorouy for the jacket and black Kona Cotton for the sleeve ruffle and collar. I added some crazy fringe to the hem and the sleeves, and the buttons on the back. I used my own pattern to make the top hat out of recycled card board. I found the fun glittery foliage at the craft store and made a corsage.


The costumes were a huge hit and after all that work/fun I think I might be the Mad Hatter every year.


Sunday, August 23, 2009

home


 I graduated with my associates and then had to pack and prepare for the big move! We are all moved in and Tony and I have both started at our new schools. Our home really does feel like home now and we are getting used to our new town. This is huge for us and a little bit scary. It is the first time that him and I have lived alone just the two of us. We really only know each other so the living room gets a lot of use. It has seen a lot of games, play dough, movies, books, and cuddling so far. I love the living room, I challenge you to come visit and not be happy in this living room! No seriously come visit!

Saturday, March 28, 2009

goodnight

I had a baby shower to go to and I wanted to make another storybook quilt like the Willy Wonka one.
I went with the classic Goodnight Moon, I hand embroidered some of my favorite illustrations and made
the pinwheels using red, green and yellow. I used a soft red flannel for the back.


Thursday, March 26, 2009

for the birds

I used McCall's M5620 and the Alexander Henry Bird Seed fabric featured on the front of the pattern.
 I have to admit when I saw the pattern I thought "hmmm...this could be really ugly" but it is the best.
 I think all the stuff they put on the front of the dresses is really distracting.
I just stuck with one simple black button.
 I definately think the belt is necessary to keep it from looking like a house dress. I made the belt with cotton lined with fusible interfacing and the buckle was one of those bonuses you find in the bottom of a large tin of buttons from a church rummage sale.
If I make the pattern again I will make it a few inches longer but other than that I love it.

Wednesday, March 25, 2009

a nun, a church lady, and a princess...

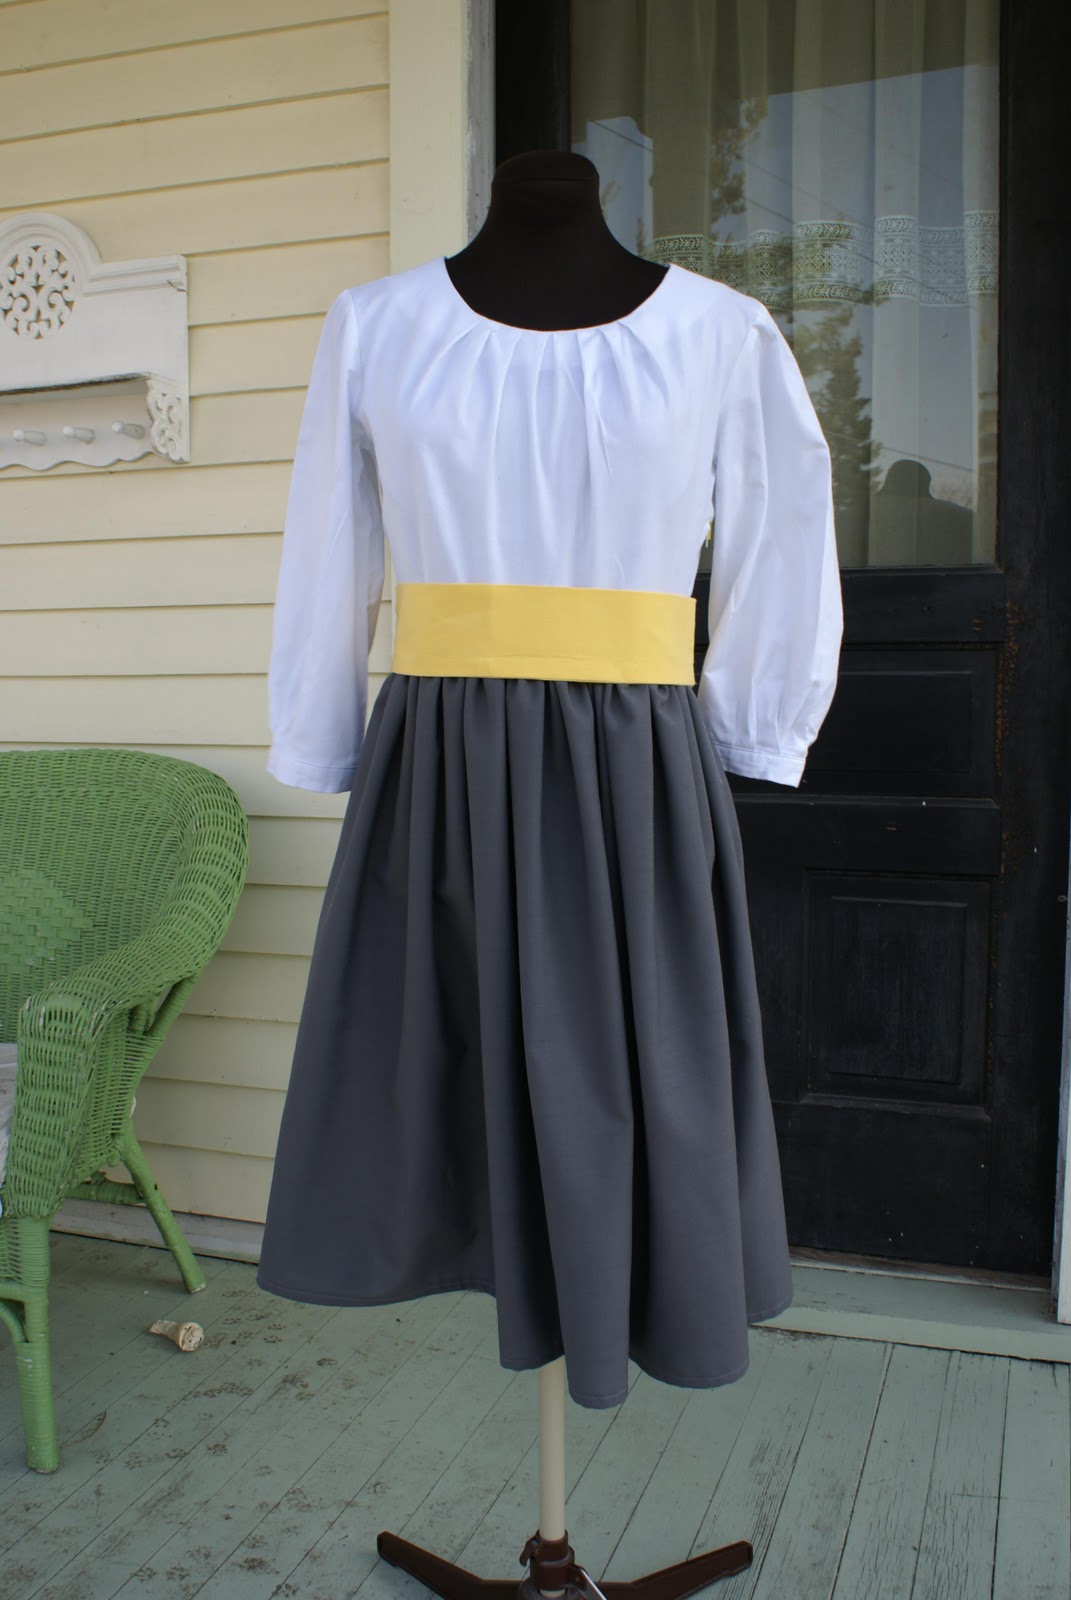
 For this pattern I used Simplicity 2724. I used men's oxford shirting for the top and I love the pleating on the neckline and sleeves and it was suprisingly very simple to whip up. For the skirt I used suiting, I cut the fabric triple my measurement and attached it to the bodice. I used cotton lined with fusible interfacing for the belt. Response to the dress is varied, it reminded my BFF of "Sound of Music", my sister thought it was a little "church lady", and my son thinks it looks like a princess dress. 

Tuesday, March 24, 2009

second time around

 This dress used to be a top that I made for myself but I decided I would like better as a dress.
At first it was gonna be a drop waist dress--yeah not a good look for me so the trusty, looks good on everyone, empire waist won out.
 I just cut the bottom of the shirt, cut the fabric for the skirt 1 1/2 times my measurement, gathered it and sewed it all together.
I really like this dress, it is super comfy and the perfect length.

Monday, March 23, 2009

rooster

I bought an amazing vintage square dancing skirt at the thrift store ages ago and it has sat in my sewing room begging to become something else. The waist of the skirt was a tiny tiny 26 inches so wearing it as is was not an option. I deconstructed the entire thing and made it into a simple dress. I love the black and white swirls and those are roosters along the hem if you cant tell. There was so much yardage in the orignal skirt I probably could have made two dresses.